很多人不知道diskgenius如何格式化分区?今日为你们带来的文章是diskgenius格式化分区的方法,还有不清楚小伙伴和小编一起去学习一下吧。
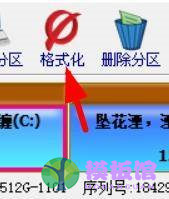
第一步:在DiskGenius软件中,找到我们的格式化命令按钮。
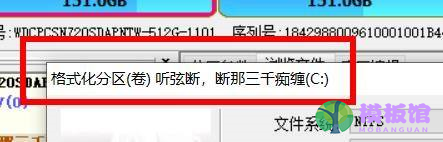
第二步:然后我们就能在这里看到将要格式化的C盘分区。
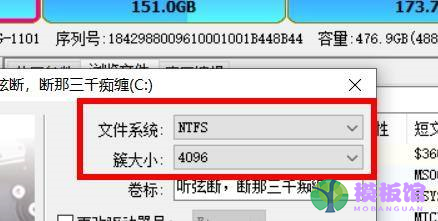
第三步:因此我们可以在这里设置格式化的文件格式,例如文件系统或者簇大小。
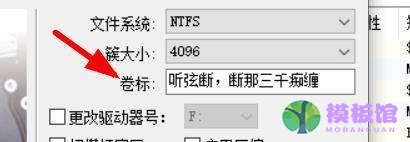
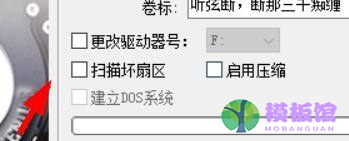
第四步:下面还能更改他的卷标等等属性。
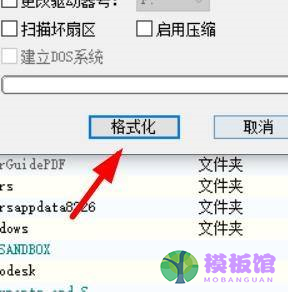
第五步:然后我们还能设置他的驱动号和扫面操作。
第六步:设置完成后,我们点击确定按钮即可完成操作。
以上就是小编给大家带来的diskgenius如何格式化分区的全部内容,希望本文内容能帮助到大家!