sai软件怎么描绘图片呢?还不知道怎么做的小伙伴,下面小编就为大家分享sai描绘图片教程,感兴趣的小伙伴不要错过哦!
sai怎么描绘图片?sai描绘图片教程
1、首先双击打开sai软件,准备好我们要描绘的图片。
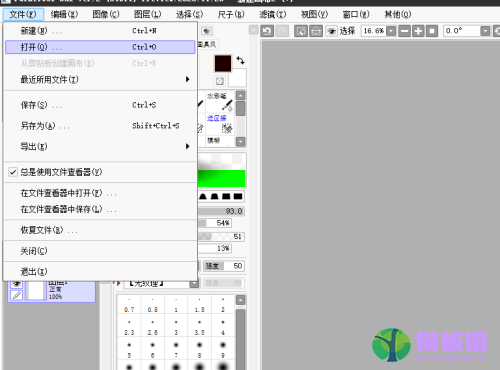
2、然后在菜单栏中单击文件,打开,选择我们要导入的文件。
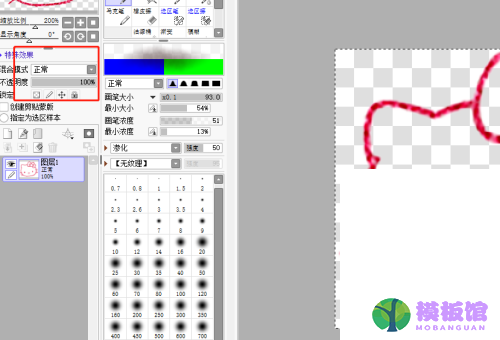
3、设置文件的不透明度,方便我们描绘。
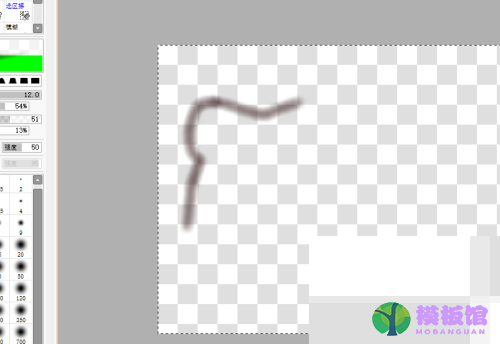
4、接着新建一个图层,我新建图层中描绘,防止破坏原图。
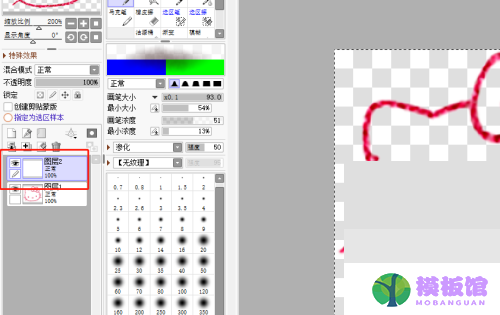
5、在新建图层中使用铅笔工具描绘。
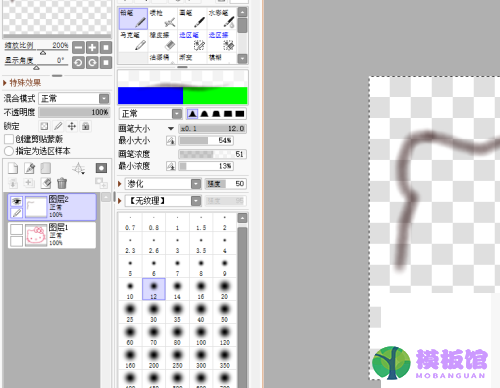
6、最后我们可以同时按住ctrl+alt调整画笔大小,绘制图片。
谢谢大家阅读这篇sai描绘图片教程,