很多人在办公中都在使用Adobe Premiere Pro CS6软件,不过你们晓得Adobe Premiere Pro CS6怎么抠像吗?下文就为各位带来了Adobe Premiere Pro CS6抠像的方法,对此感兴趣的用户快一同来下文看看。
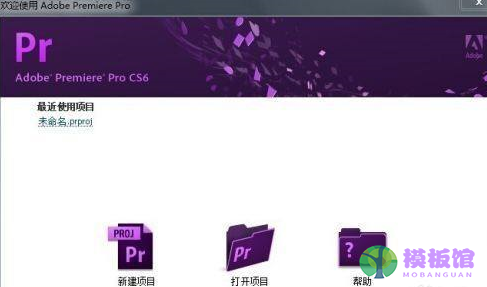
第一步:打开Adobe Premiere Pro CS6软件,新建一个项目(如图所示)。
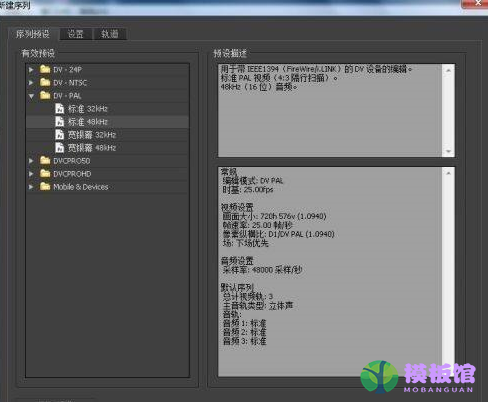
第二步:对项目进行命名(如图所示)。
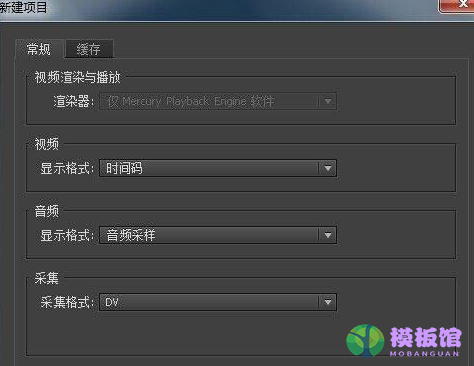
第三步:设置项目参数,此处随意即可(如图所示)。
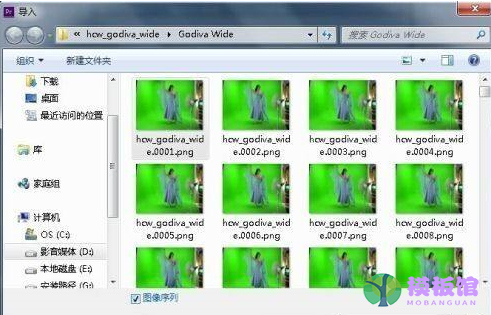
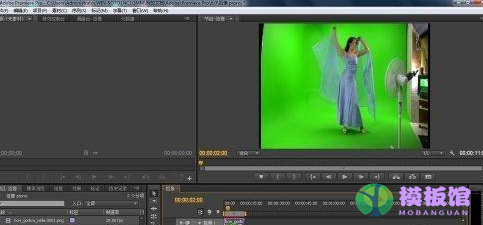
第四步:导入想要抠像的素材,我这里是一个序列,大家也可以用图片练手(如图所示)。
第五步:将导入的素材拖到时间线(如图所示)。
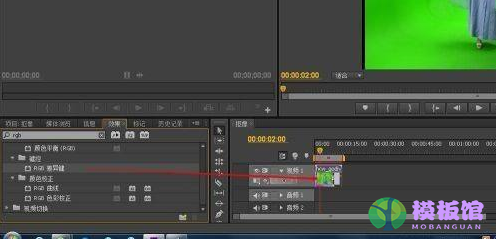
第六步:在视频特效里找到RGB差异键,拖到素材上(如图所示)。
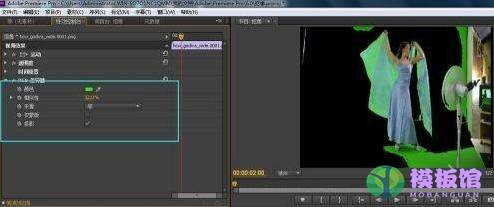
第七步:在特效控制处设置参数,并在右边的窗口预览效果(如图所示)。
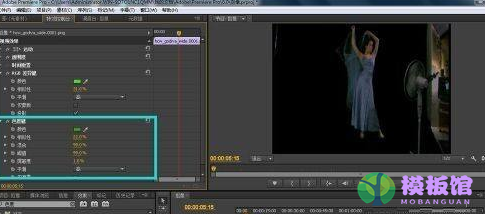
第八步:再搜索出色度键,按照第六步、第七步操作,基本就可以达到自己想要的效果了(如图所示)。
以上就是小编给大家带来的Adobe Premiere Pro CS6抠像的方法,希望本文内容能帮助到大家!