你们是不是和小编一样都喜欢使用Adobe Illustrator CS6软件呢?那么你们知道Adobe Illustrator CS6怎样绘制加号系列图标吗?接下来,小编就为各位带来了Adobe Illustrator CS6怎样绘制加号系列图标的方法,想了解更多用户快来下文看看吧。
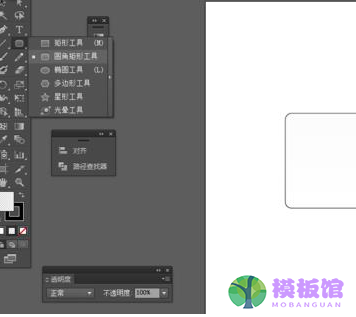
我们需要先打开Adobe Illustrator CS6软件,新建一个800*800的文档,选择圆角矩形工具,画一个圆角图形,如图所示
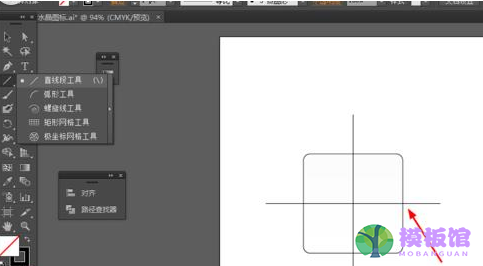
然后选择直线工具,在圆角图形画两条直线,如图所示
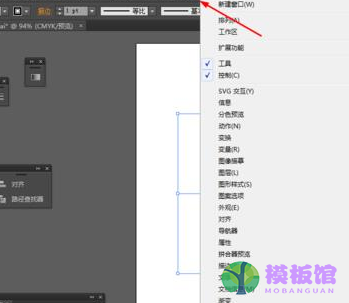
接着我们选中圆角图形和直线到窗口—路径查找器—点击分割,如图所示
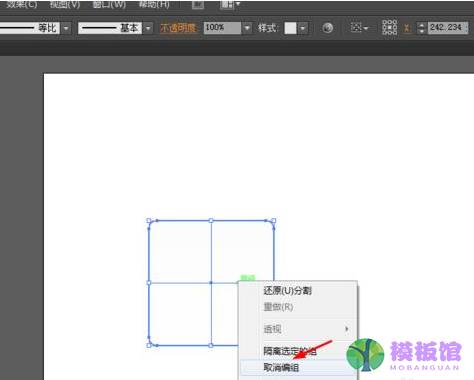
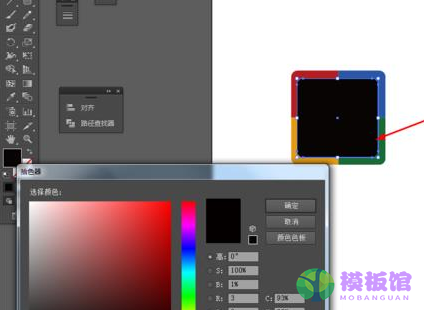
然后点击图形右键取消编组,并给分割后的图形填充颜色,如图所示
接下来我们选择圆角矩形工具,画一个圆角图形,并填充颜色,如图所示
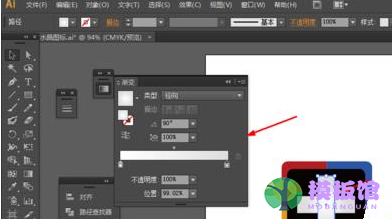
这时我们选择矩形工具,画两个矩形图形,并添加渐变颜色,如图所示
最后效果如下图所示

以上就是小编给大家带来的Adobe Illustrator CS6怎样绘制加号系列图标的方法,希望本文内容能帮助到大家!