大家知道ps怎么切图吗?下文小编就带来了ps切图的详细教程,希望对大家能够有所帮助,一起跟着小编来学习一下吧!
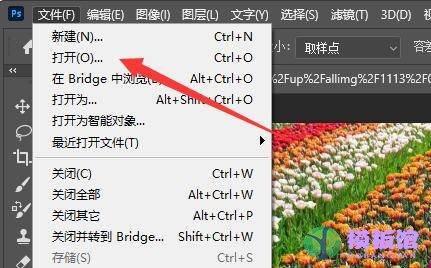
第一步:首先打开PS,打开想要编辑的图片(如图所示)。
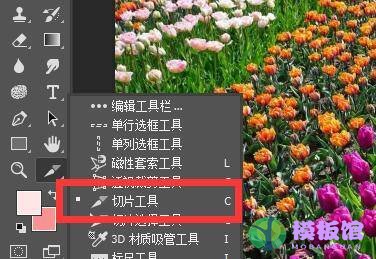
第二步:接着在工具栏找到并选中“切片工具”(如图所示)。
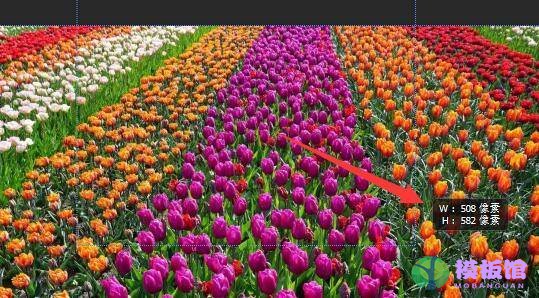
第三步:然后鼠标移动到切片位置,按住并拖动左键就能选择切片位置了。
第四步:在移动的过程中,还可以在右下角看到切片的大小(如图所示)。
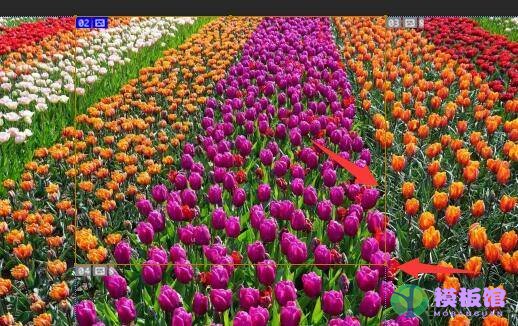
第五步:松开鼠标,就可以看到已经完成切片了。
第六步:如果感觉不喜欢,还能通过调节分割线位置进行修改(如图所示)。
第七步:随后我们右键切片区域,就可以对它进行删除、编辑等操作(如图所示)。

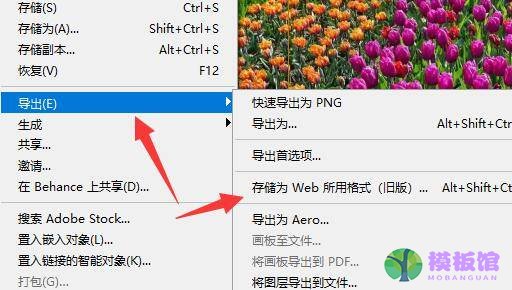
第八步:编辑完成后,点击左上角文件,选择“导出”并“存储为web所有格式”(如图所示)。
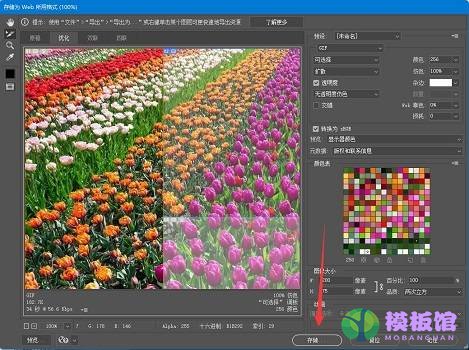
第九步:最后在其中还能进一步编辑切片,编辑后点击下方“存储”就能保存切片了(如图所示)。
上面就是小编为大家带来的ps怎么切图的全部内容,希望对大家能够有所帮助哦。